Soft Chewy Sugar Cookies-Easy Melt-in-Your-Mouth Recipe
Soft and chewy sugar cookies are more than just a dessert; they’re a warm hug in cookie form. There’s something incredibly comforting and nostalgic about biting into a perfectly baked sugar cookie, isn’t there? They’re the quintessential treat for holidays, birthdays, or just an afternoon pick-me-up. We all have that memory, that one baker whose soft and chewy sugar cookies were the highlight of every gathering. What makes them so universally adored? It’s that irresistible combination of a tender interior and a delightful chewiness, a delicate sweetness that isn’t overpowering, and their versatility. Whether you enjoy them plain, frosted, or decorated, these cookies are a canvas for joy. Today, I’m sharing my secrets to achieving that perfect texture and flavor every single time, ensuring your batch of soft and chewy sugar cookies will be met with rave reviews.
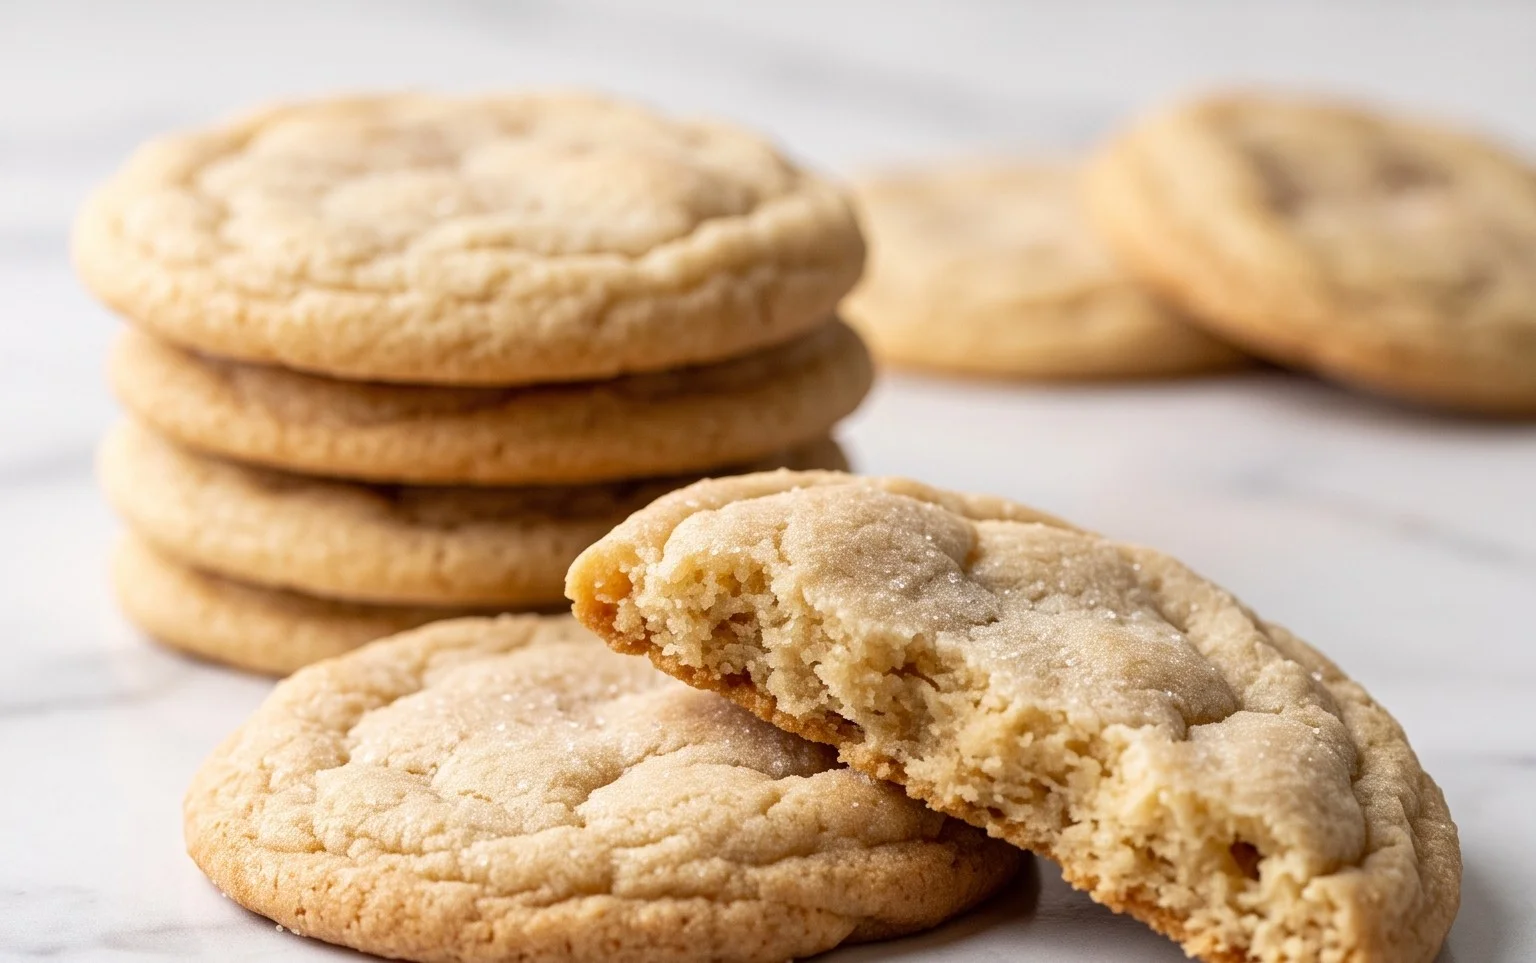
Soft and Chewy Sugar Cookies
There’s something incredibly comforting about a perfectly soft and chewy sugar cookie. It’s a classic for a reason – simple, delightful, and endlessly customizable. These cookies are my go-to when I want a treat that’s both easy to make and utterly satisfying. They have that perfect balance of sweetness and a tender crumb that just melts in your mouth. Forget those hard, crumbly sugar cookies of the past; these are the real deal, designed for pure cookie bliss.
The magic truly lies in a few key elements: the right fat-to-sugar ratio, the inclusion of an egg yolk for extra richness and chewiness, and a light hand with the flour. We’re not aiming for a crisp edge here, but rather a cookie that stays soft for days, making them ideal for sharing (or not!). The simple rolled sugar coating adds just a touch of sparkle and sweetness without overwhelming the delicate cookie flavor.
Ingredients:
- 2 ½ cups (300g) all-purpose flour*
- ½ teaspoon baking powder
- ½ teaspoon baking soda
- ½ teaspoon salt
- ¾ cup (170g) unsalted butter (1 ½ sticks of butter), softened at room temperature but still slightly cool
- 1 ¼ cups (250g) granulated sugar
- 1 large egg
- 1 egg yolk
- 2 teaspoons vanilla extract
- ¼ cup (50g) granulated sugar (for rolling)
Instructions:
Step 1: Prepare Your Dry Ingredients
First things first, let’s get our dry ingredients ready. In a medium-sized bowl, whisk together the all-purpose flour, baking powder, baking soda, and salt. Whisking them thoroughly ensures that the leavening agents and salt are evenly distributed throughout the flour. This is crucial for achieving a consistent rise and texture in your cookies. Set this bowl aside for now; we’ll be using it shortly.
Step 2: Cream the Butter and Sugar
Now for the foundation of our cookie dough: creaming the butter and sugar. In a large mixing bowl (or the bowl of your stand mixer fitted with the paddle attachment), beat the softened, yet still slightly cool, unsalted butter and the 1 ¼ cups of granulated sugar together. You want to cream them until the mixture is light, fluffy, and pale yellow. This process incorporates air into the butter and sugar, which contributes significantly to the cookie’s texture and helps it spread just right. Don’t rush this step; it typically takes about 3-5 minutes of vigorous beating. The coolness of the butter is important here; if it’s too soft, it can lead to cookies that spread too much and become flat and crispy.
Step 3: Incorporate Wet Ingredients and Vanilla
Once your butter and sugar are beautifully creamed, it’s time to add the eggs and vanilla. Add the large egg and the egg yolk to the creamed mixture. The extra egg yolk is a secret weapon for achieving that wonderfully soft and chewy texture. Beat them in until well combined. Then, stir in the vanilla extract. Make sure everything is thoroughly incorporated before moving on to the dry ingredients. A good mix at this stage ensures that the flavors will be evenly distributed throughout the cookies.
Step 4: Combine Wet and Dry Ingredients
Now, it’s time to bring our two prepared mixtures together. Gradually add the dry ingredients (the flour mixture from Step 1) to the wet ingredients. Mix on low speed until just combined. Be careful not to overmix the dough at this stage. Overmixing can develop the gluten in the flour too much, resulting in tougher cookies. Stop mixing as soon as you no longer see streaks of dry flour. The dough will be soft and slightly sticky, which is exactly what we’re aiming for.
Step 5: Chill the Dough and Prepare for Baking
This chilling step is absolutely vital for both texture and manageability. Cover the bowl of cookie dough tightly with plastic wrap and refrigerate for at least 1 hour, or preferably 2 hours. Chilling the dough allows the fats to firm up, which prevents excessive spreading during baking. It also allows the flavors to meld together beautifully. After chilling, you’ll find the dough is much firmer and easier to handle.
Step 6: Shape and Roll the Cookies
Preheat your oven to 375°F (190°C). Line baking sheets with parchment paper. This prevents sticking and makes for easy cleanup. Place the ¼ cup of granulated sugar for rolling into a shallow dish or on a plate. Take about 1-2 tablespoons of the chilled dough (depending on your desired cookie size) and roll it into a smooth ball between your palms. Then, roll each ball generously in the reserved granulated sugar. This sugar coating will give your cookies a delightful crunch and a beautiful sparkle. Place the sugared dough balls about 2 inches apart on the prepared baking sheets.
Step 7: Bake to Golden Perfection
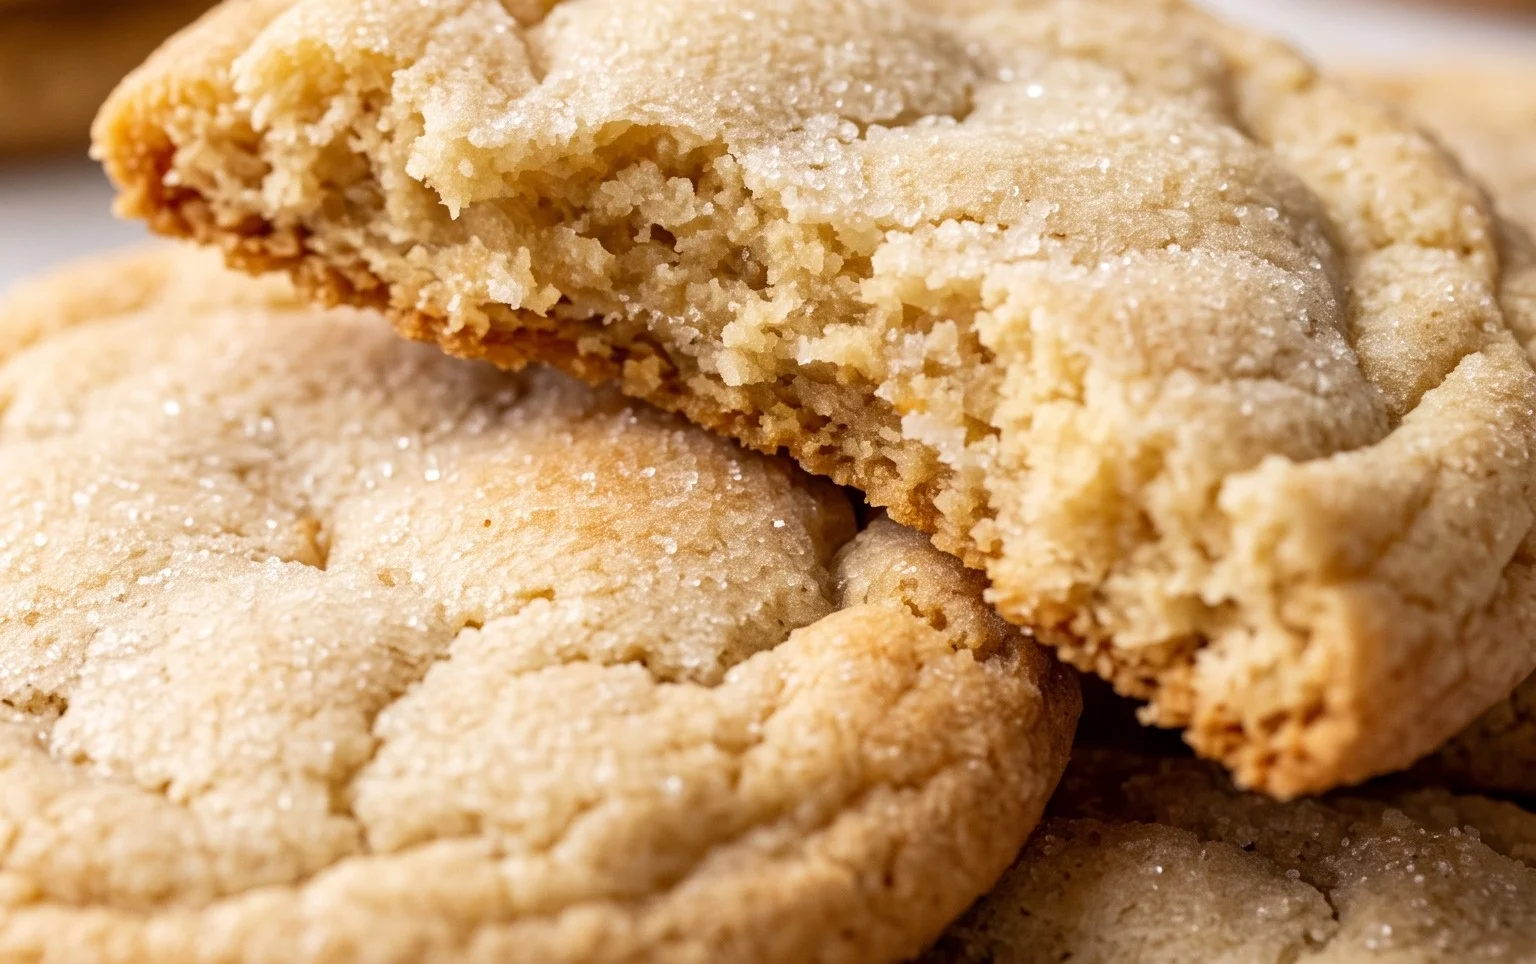
Bake the cookies for 8-11 minutes, or until the edges are lightly golden brown and the centers still look slightly soft and underbaked. This is key to achieving that chewy texture! They will continue to set up as they cool on the baking sheet. Don’t overbake them; it’s better to pull them out a minute early than a minute too late.
Step 8: Cool and Enjoy
Let the cookies cool on the baking sheets for about 5 minutes before carefully transferring them to a wire rack to cool completely. This allows them to firm up enough to be moved without breaking. Once cooled, these soft and chewy sugar cookies are ready to be devoured! They store beautifully in an airtight container at room temperature for up to 5 days, and the texture often improves on the second day. Enjoy every delicious bite!
Conclusion:
There you have it – the secret to achieving truly perfect soft and chewy sugar cookies! This recipe delivers on every promise: incredibly tender interiors, a delightful chewiness, and a sweet, buttery flavor that’s utterly irresistible. It’s a fantastic recipe for bakers of all skill levels, whether you’re looking for a simple treat to whip up on a weeknight or a crowd-pleasing cookie for your next gathering. The beauty of these cookies lies in their versatility; they are wonderful on their own, but they also serve as a perfect canvas for creativity. Consider frosting them with your favorite buttercream, drizzling them with melted chocolate, or even adding sprinkles for a festive touch.
If you’re feeling adventurous, don’t hesitate to experiment with different extracts like almond or lemon for a unique flavor profile, or even incorporate a pinch of cinnamon for a warm twist. I genuinely encourage you to give these soft and chewy sugar cookies a try. They are guaranteed to become a cherished favorite in your recipe collection. Happy baking!
Frequently Asked Questions:
Why are my sugar cookies not chewy?
Achieving chewiness often comes down to a few key factors. Ensuring you don’t overbake them is paramount; slightly underbaked is better than overbaked for softness and chew. Using melted butter instead of creamed butter can also contribute to a chewier texture. Additionally, the ratio of brown sugar to granulated sugar plays a role; brown sugar contains molasses, which adds moisture and chewiness.
Can I add decorations to these cookies?
Absolutely! These soft and chewy sugar cookies are an ideal base for decorating. Once cooled, you can frost them with royal icing or buttercream and add sprinkles, edible glitter, or even draw designs with food coloring pens. They are also perfect for cutting out shapes and decorating for holidays.
How should I store these cookies to maintain their softness?
To keep these cookies soft and chewy, store them in an airtight container at room temperature. You can also place a slice of bread in the container with the cookies; the moisture from the bread will help keep them tender. They should stay fresh for up to 3-4 days.
Soft and Chewy Sugar Cookies
Deliciously soft and chewy sugar cookies with a hint of vanilla. Perfect for any occasion.
Ingredients
-
2 ½ cups (300g) all-purpose flour
-
½ teaspoon baking powder
-
½ teaspoon baking soda
-
½ teaspoon salt
-
¾ cup (170g) unsalted butter, softened
-
1 ¼ cups (250g) granulated sugar
-
1 large egg
-
1 egg yolk
-
2 teaspoons vanilla extract
-
¼ cup (50g) granulated sugar (for rolling)
Instructions
-
Step 1
In a medium bowl, whisk together the flour, baking powder, baking soda, and salt. Set aside. -
Step 2
In a large bowl, cream together the softened unsalted butter and 1 ¼ cups of granulated sugar until light and fluffy. -
Step 3
Beat in the large egg, egg yolk, and vanilla extract until well combined. -
Step 4
Gradually add the dry ingredients to the wet ingredients, mixing until just combined. Do not overmix. -
Step 5
Shape the dough into balls, about 1 inch in diameter. Roll each ball in the remaining ¼ cup of granulated sugar. -
Step 6
Place the sugar-coated balls on a baking sheet lined with parchment paper, about 2 inches apart. Flatten them slightly with the palm of your hand or the bottom of a glass. -
Step 7
Bake in a preheated oven at 375°F (190°C) for 9-11 minutes, or until the edges are lightly golden and the centers are still slightly soft. -
Step 8
Let the cookies cool on the baking sheet for a few minutes before transferring them to a wire rack to cool completely.
Important Information
Nutrition Facts (Per Serving)
It is important to consider this information as approximate and not to use it as definitive health advice.
Allergy Information
Please check ingredients for potential allergens and consult a health professional if in doubt.