Chewy Pumpkin Chocolate Chip Cookies – Autumn Comfort
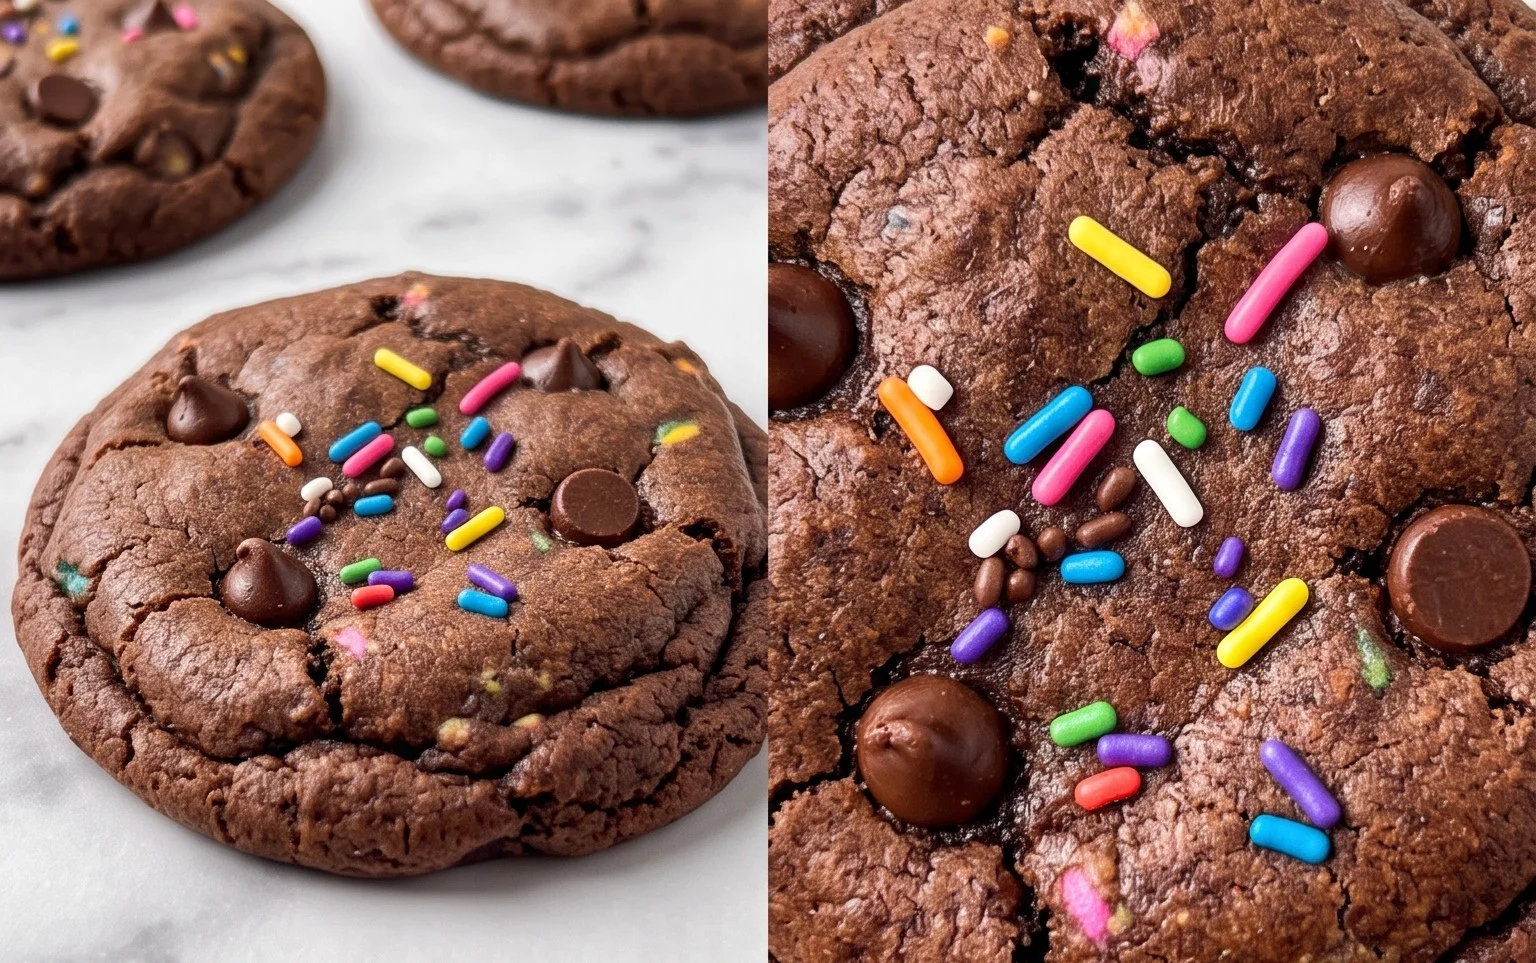
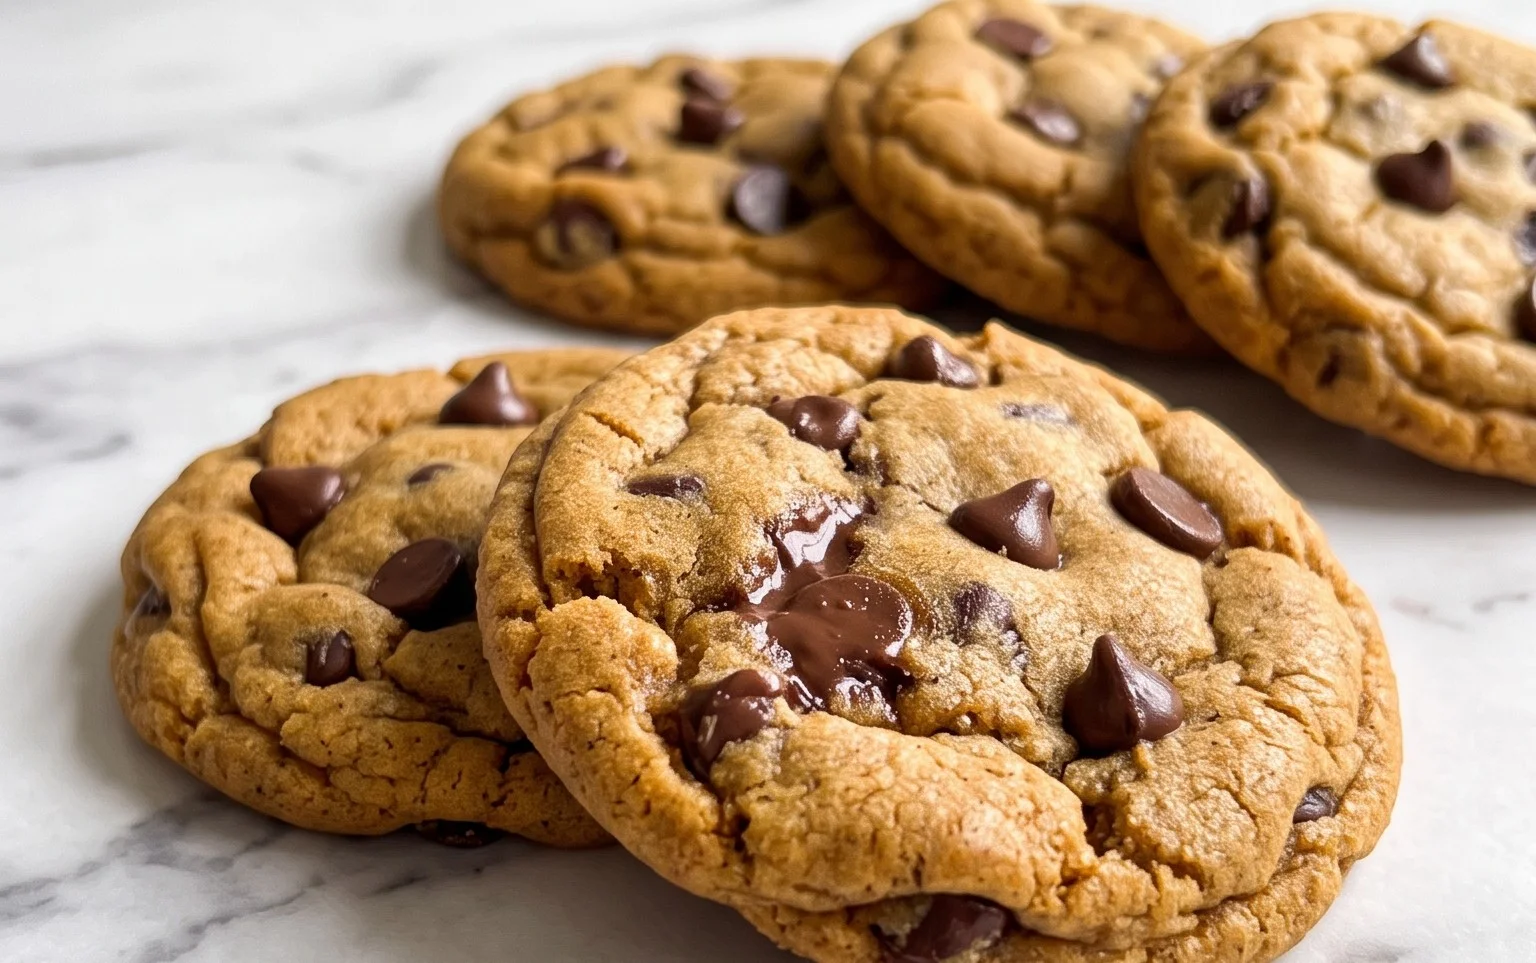
Chewy Pumpkin Chocolate Chip Cookies are the ultimate fall treat, and I’m so excited to share my favorite recipe with you! There’s just something magical about the way the warm spices of pumpkin pie mingle with the rich, melty goodness of chocolate chips. These aren’t just any cookies; they’re a hug in edible form, perfect for cozy evenings by the fire or sharing with loved ones. What truly sets these Chewy Pumpkin Chocolate Chip Cookies apart is the perfect balance of textures – a slightly crisp edge giving way to a wonderfully soft and gooey center, all infused with that quintessential pumpkin flavor we adore. Get ready to experience pure autumnal bliss with every single bite. Trust me, these are going to become your new go-to cookie!
Chewy Pumpkin Chocolate Chip Cookies
Fall is officially here, and that means it’s time to embrace all things pumpkin! And what better way to celebrate than with a batch of incredibly chewy, warmly spiced, and decadently chocolatey pumpkin chocolate chip cookies? These aren’t your average cookies; they’re soft, moist, and packed with the comforting flavors of autumn. The combination of tender pumpkin, cozy pumpkin spice, and melty chocolate chips is simply irresistible. I’ve been perfecting this recipe for years, and I’m so excited to share it with you. Get ready to fill your kitchen with the most amazing aroma and delight your taste buds with these perfect fall treats.
Ingredients:
- 1 cup cold unsalted butter
- 2/3 cup Libby’s Pumpkin Puree (room temperature)
- 1/2 cup granulated sugar
- 1/2 cup light brown sugar (packed)
- 2 large egg yolks (room temperature)
- 2 teaspoons vanilla extract
- 1 2/3 cup + 1 tablespoon all-purpose flour (*See notes below for measuring*)
- 2 1/2 teaspoons pumpkin spice
- 1 teaspoon baking soda
- 1/2 teaspoon fine sea salt
- 1 cup chopped chocolate bar (semi-sweet chocolate bar)
Instructions:
Prep Work and Dough Foundation
The secret to these wonderfully chewy cookies starts with a few key preparation steps. First, make sure your butter is truly cold. We’re not creaming it until it’s fluffy; we want it to be firm so it creates pockets of steam during baking, which contributes to that desirable chewy texture. It’s also crucial that your pumpkin puree is at room temperature. This prevents it from cooling down the butter too much, ensuring a smooth and emulsified dough. Similarly, bring your egg yolks to room temperature. This helps them incorporate more easily into the butter and sugar mixture, leading to a better cookie structure.
Step 1: Creaming the Fats and Sugars
In a large mixing bowl, combine the cold unsalted butter, room temperature Libby’s pumpkin puree, granulated sugar, and packed light brown sugar. Using an electric mixer (a stand mixer with the paddle attachment or a hand mixer), beat these ingredients together on medium speed until they are well combined and have a somewhat uniform, but not overly smooth, consistency. You’re not aiming for the super light and airy texture you’d get for cake; think of it more as a hearty, well-blended base. Scrape down the sides of the bowl periodically to ensure everything is getting incorporated evenly. This step is important for distributing the sweetness and setting the stage for the moisture from the pumpkin.
Step 2: Incorporating Wet Ingredients and Spices
Add the room temperature egg yolks and the vanilla extract to the butter and sugar mixture. Beat again on medium speed until everything is thoroughly combined and the mixture is smooth. Don’t overmix at this stage; just ensure the yolks and vanilla are fully incorporated. Now it’s time to add the flavor enhancers. In a separate medium bowl, whisk together the all-purpose flour, pumpkin spice, baking soda, and fine sea salt. This ensures that the leavening agents and salt are evenly distributed throughout the dry ingredients, preventing pockets of saltiness or uneven rising in your cookies. Gradually add this dry ingredient mixture to the wet ingredients in the large mixing bowl, mixing on low speed until just combined. Be careful not to overmix here, as overmixing can develop the gluten in the flour, leading to tougher cookies. Stop mixing as soon as you no longer see streaks of flour.
Step 3: Folding in the Chocolatey Goodness
Now for the best part: the chocolate! Add the chopped semi-sweet chocolate bar to the dough. Using a spatula or a wooden spoon, gently fold the chocolate chips into the cookie dough until they are evenly distributed. You want to see those beautiful chunks of chocolate throughout the dough, promising pockets of melted goodness in every bite. This is also a good time to give the dough one last gentle mix with your spatula to ensure there are no dry spots of flour clinging to the bottom or sides of the bowl.
Step 4: Chilling the Dough for Optimal Chewy Texture
This is arguably the most critical step for achieving that perfect chewy texture. Cover the bowl of cookie dough tightly with plastic wrap and refrigerate it for at least 2 hours, or preferably overnight. Chilling the dough allows the fats to firm up, the flavors to meld, and the flour to absorb moisture. This process prevents the cookies from spreading too much during baking and results in a thicker, chewier cookie. If you’re short on time, even 30 minutes in the freezer can make a difference, but a longer chill is truly what makes these cookies exceptional.
Step 5: Baking to Golden Perfection
When you’re ready to bake, preheat your oven to 350°F (175°C). Line baking sheets with parchment paper to prevent sticking and ensure even baking. Scoop rounded tablespoons of the chilled cookie dough onto the prepared baking sheets, leaving about 2 inches between each cookie to allow for spreading. For consistent size and shape, you can use a cookie scoop. Gently press down on the tops of the dough balls slightly. Bake for 10-14 minutes, or until the edges are set and lightly golden brown, but the centers still look slightly soft and underbaked. They will continue to cook on the baking sheet as they cool. Overbaking will result in dry, cakey cookies, so err on the side of caution.
Cooling and Enjoying Your Chewy Creations
Once baked, let the cookies cool on the baking sheets for 5-10 minutes before carefully transferring them to a wire rack to cool completely. This resting period is crucial for the cookies to set and firm up, ensuring they remain chewy. The aroma that will fill your kitchen during this process is simply divine! Store any leftover cookies in an airtight container at room temperature for up to 3 days. These chewy pumpkin chocolate chip cookies are perfect with a glass of cold milk or a warm cup of coffee. Enjoy every delightful, spiced, chocolate-filled bite!
*Notes on Measuring Flour:* For the most accurate results, spoon your all-purpose flour into a measuring cup and level it off with a straight edge, rather than scooping directly from the bag. This prevents you from packing too much flour, which can lead to dry cookies.
Conclusion:
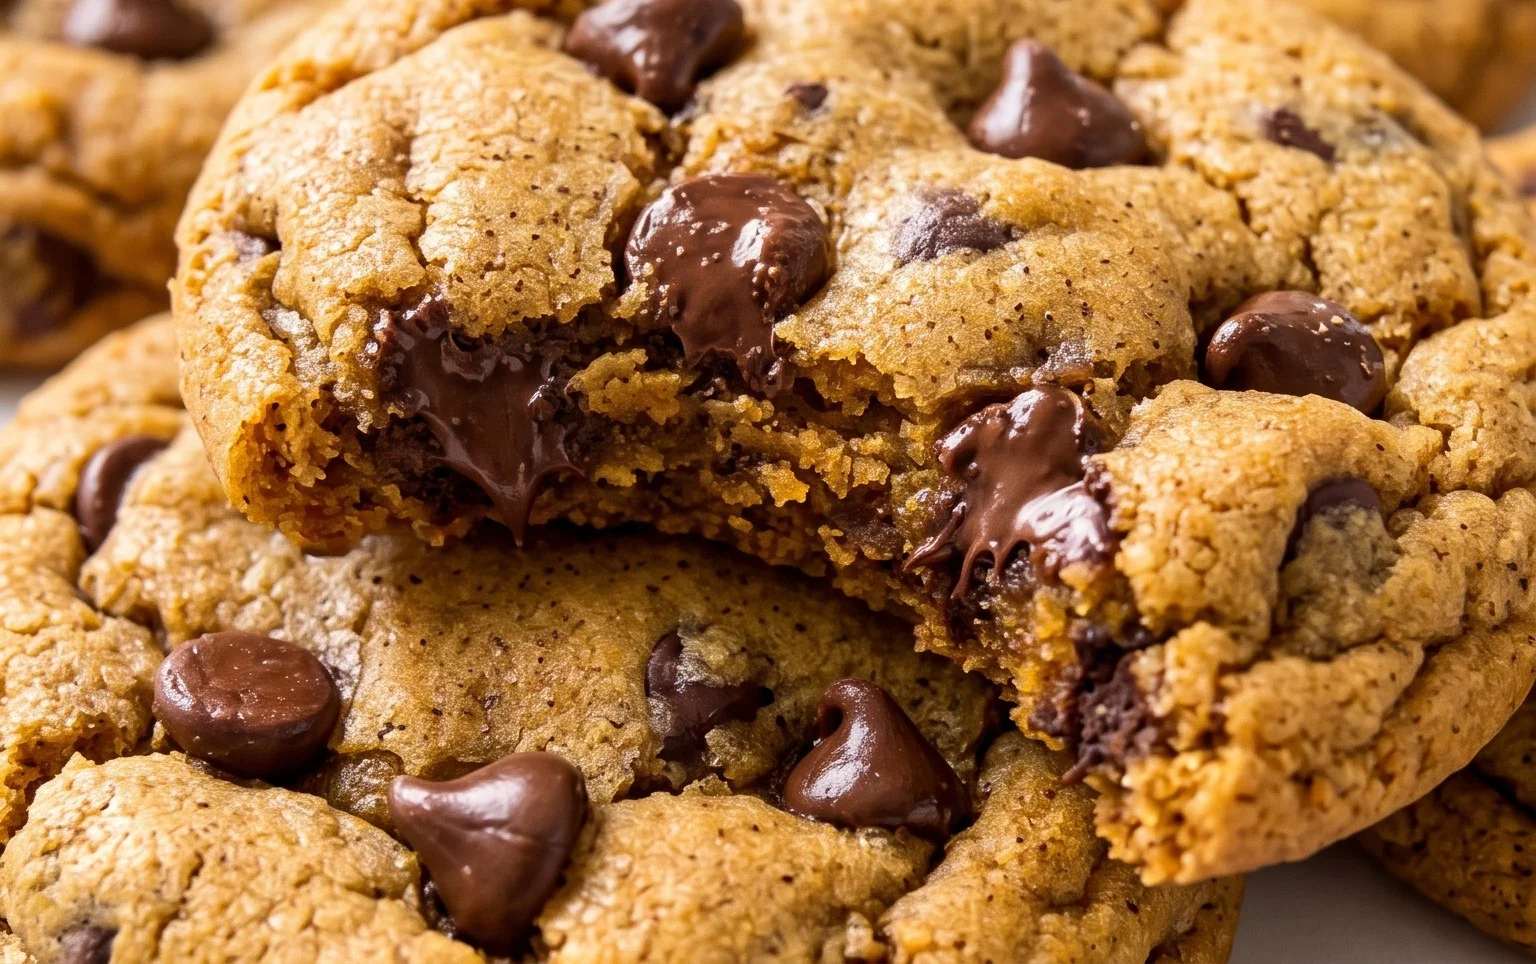
And there you have it – the ultimate recipe for wonderfully chewy pumpkin chocolate chip cookies! These cookies are truly a triumph, boasting that perfect balance of soft, moist pumpkin goodness and rich, melty chocolate chips. The subtle warmth of the pumpkin spice, combined with the satisfying chewiness, makes them an irresistible treat for any occasion. They’re not overly cakey or crumbly, just delightfully tender and bursting with autumnal flavor. I’m so excited for you to try this recipe!
These chewy pumpkin chocolate chip cookies are fantastic on their own, but they also pair beautifully with a cold glass of milk or a warm mug of spiced cider. For an extra special touch, consider crumbling one slightly and topping it with a dollop of whipped cream or a scoop of vanilla bean ice cream. Feeling adventurous? Try adding a sprinkle of flaky sea salt on top before baking to enhance the chocolate flavor. You could also stir in some chopped pecans or walnuts for added crunch and nutty depth.
I truly hope you give these a go. They’re simple enough for a weeknight baking session but impressive enough for holiday gatherings. The aroma filling your kitchen as they bake is an experience in itself, and the taste is even better. Happy baking!
Frequently Asked Questions:
Why are my pumpkin chocolate chip cookies not chewy enough?
To ensure maximum chewiness, make sure not to overbake them. They should look slightly underdone in the center when you take them out of the oven. They will continue to set as they cool. Also, ensure you’re using the correct amount of pumpkin puree and not too much flour, as these can affect texture.
Can I make these cookies ahead of time?
Absolutely! You can prepare the dough, shape it into balls, and freeze them on a baking sheet until firm. Then, transfer the frozen dough balls to an airtight container or freezer bag. Bake them directly from frozen, adding a minute or two to the baking time. They also store well in an airtight container at room temperature for a few days once baked.
What kind of chocolate chips work best?
While semi-sweet chocolate chips are a classic choice and provide a lovely contrast to the pumpkin, feel free to experiment! Milk chocolate chips will add extra sweetness, while dark chocolate chips will offer a more intense cocoa flavor. A mix of different types of chips can also be delicious!
Chewy Pumpkin Chocolate Chip Cookies
Deliciously chewy cookies packed with pumpkin flavor and rich chocolate chips.
Ingredients
-
1 cup cold unsalted butter
-
2/3 cup Libby’s Pumpkin Puree (room temperature)
-
1/2 cup granulated sugar
-
1/2 cup light brown sugar (packed)
-
2 large egg yolks (room temperature)
-
2 teaspoons vanilla extract
-
1 2/3 cup + 1 tablespoon all-purpose flour
-
2 1/2 teaspoons pumpkin spice
-
1 teaspoon baking soda
-
1/2 teaspoon fine sea salt
-
1 cup chopped semi-sweet chocolate bar
Instructions
-
Step 1
In a large bowl, cream together the cold butter, pumpkin puree, granulated sugar, and brown sugar until smooth. -
Step 2
Beat in the egg yolks and vanilla extract until well combined. -
Step 3
In a separate medium bowl, whisk together the all-purpose flour, pumpkin spice, baking soda, and salt. -
Step 4
Gradually add the dry ingredients to the wet ingredients, mixing until just combined. Do not overmix. -
Step 5
Stir in the chopped chocolate bar. -
Step 6
Chill the dough for at least 30 minutes. -
Step 7
Preheat oven to 350°F (175°C). Line baking sheets with parchment paper. -
Step 8
Drop rounded tablespoons of dough onto the prepared baking sheets, leaving about 2 inches between cookies. -
Step 9
Bake for 10-12 minutes, or until the edges are golden brown and the centers are still slightly soft. They will continue to set as they cool. -
Step 10
Let the cookies cool on the baking sheets for a few minutes before transferring them to a wire rack to cool completely.
Important Information
Nutrition Facts (Per Serving)
It is important to consider this information as approximate and not to use it as definitive health advice.
Allergy Information
Please check ingredients for potential allergens and consult a health professional if in doubt.