Healthy Oatmeal Breakfast Cookie Recipe – Energizing Start
Healthy Oatmeal Breakfast Cookies are about to become your new morning obsession! Tired of the same old sugary cereal or a breakfast that leaves you feeling sluggish? Me too! That’s precisely why I fell in love with these delightful treats. They’re the perfect antidote to the morning rush, offering a satisfyingly sweet flavor without the guilt. What makes this Healthy Oatmeal Breakfast Cookie so special is its incredible versatility and the power-packed goodness it delivers. Imagine biting into a warm, chewy cookie bursting with wholesome oats, nourishing seeds, and just a hint of natural sweetness. It’s like a hug in cookie form, designed to fuel your day and keep you feeling full and energized until lunchtime. Forget sacrificing taste for health; these cookies prove you can have both in every single bite of this fantastic Healthy Oatmeal Breakfast Cookie.
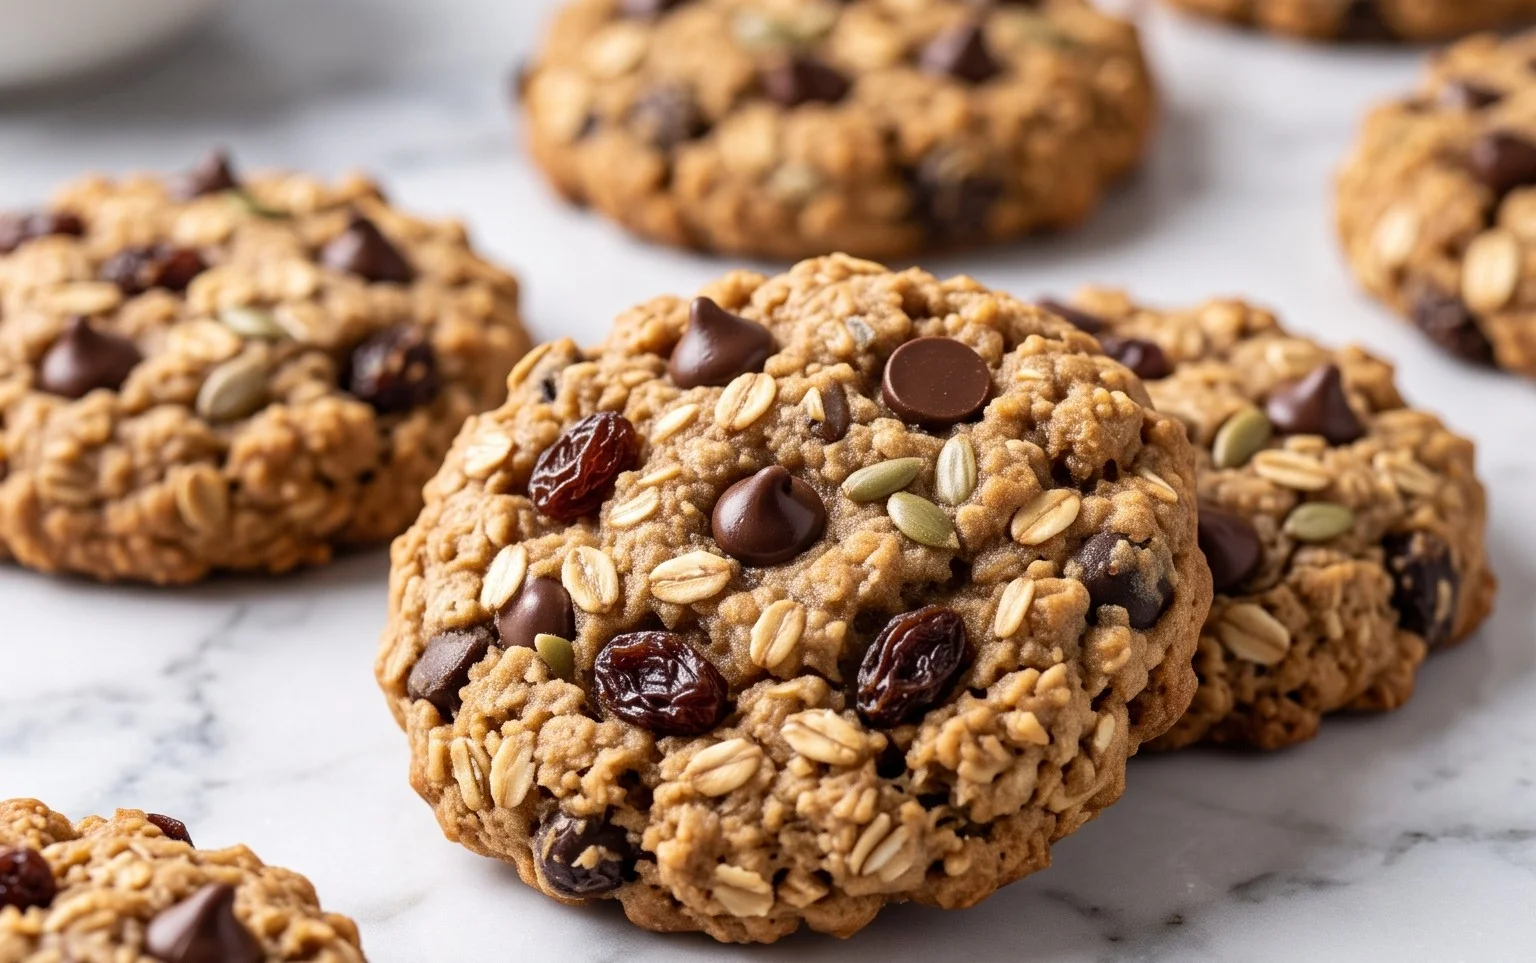
Healthy Oatmeal Breakfast Cookie
Good morning, sunshine! Are you tired of the same old breakfast routine? Do you crave something delicious, satisfying, and most importantly, good for you to kickstart your day? Well, you’ve come to the right place! Today, we’re diving into the wonderful world of the Healthy Oatmeal Breakfast Cookie. These little powerhouses are the perfect way to combine the comforting goodness of oatmeal with the convenient joy of a cookie, all while keeping things wonderfully wholesome. Forget those sugary, processed breakfast bars; these homemade gems are packed with energy-boosting ingredients and are so easy to whip up, you’ll wonder why you didn’t make them sooner. They’re ideal for busy mornings, post-workout fuel, or even a guilt-free afternoon treat. We’ll be using simple, wholesome ingredients that you likely already have in your pantry, making this recipe incredibly accessible. Let’s get started and create some breakfast magic!
Ingredients:
- 2 cup (180 grams) quick oats
- ½ tsp ground cinnamon
- ¼ tsp salt
- ½ cup (125 grams) creamy peanut butter
- ½ tsp vanilla extract
- 2 large ripe bananas (mashed (about 1 ½ cups))
- ¼ cup (45 grams) chocolate chips
Let’s Get Baking (The Easy Way!)
This recipe is designed for simplicity and speed, proving that healthy eating doesn’t have to be complicated or time-consuming. The beauty of these breakfast cookies is their versatility; you can easily adapt them to your preferences by adding other mix-ins like nuts, seeds, or dried fruit. But for this foundational recipe, we’re focusing on the core ingredients that deliver amazing flavor and texture.
Step 1: The Dry Foundation
Begin by preheating your oven to 350 degrees Fahrenheit (175 degrees Celsius). This is a standard temperature that will allow the cookies to bake evenly and develop a pleasant texture without burning. Line a baking sheet with parchment paper. This is a crucial step, as it prevents the cookies from sticking to the baking sheet, making cleanup a breeze and ensuring your cookies come off perfectly. In a medium-sized mixing bowl, combine the quick oats, ground cinnamon, and salt. Give these dry ingredients a good stir to ensure the cinnamon and salt are evenly distributed throughout the oats. The cinnamon adds a warm, comforting aroma and flavor, while the salt enhances all the other flavors in the cookie, preventing them from tasting bland. Quick oats are perfect here because they absorb moisture quickly and will contribute to a chewy cookie texture.
Step 2: Bringing the Wet Together
In a separate, larger mixing bowl, add your creamy peanut butter. Make sure it’s creamy; chunky peanut butter will work, but it will change the texture of the cookie slightly. Add the vanilla extract to the peanut butter. Then, it’s time for the star of our binding show: the mashed bananas. Ensure your bananas are ripe – the riper, the sweeter and easier to mash. You should aim for about 1 ½ cups of mashed banana. You can mash them with a fork directly in the bowl or use a potato masher. The bananas act as a natural sweetener and binder, reducing the need for added sugars and contributing to the soft texture of the cookies. Whisk these wet ingredients together until they are well combined and relatively smooth. It’s okay if there are still a few small lumps of peanut butter; they will likely disappear during the baking process.
Step 3: The Grand Unification
Now, it’s time to bring our dry and wet ingredients together. Pour the oat mixture from the smaller bowl into the larger bowl with the peanut butter, banana, and vanilla mixture. Using a sturdy spatula or a wooden spoon, gently fold the ingredients together. Continue mixing until just combined. Be careful not to overmix. Overmixing can develop the gluten in the oats more than necessary, potentially leading to tougher cookies. You want to see that the dry ingredients are fully incorporated into the wet mixture, creating a thick, cohesive dough.
Step 4: The Sweetest Addition
Once the cookie dough is formed, it’s time to add the chocolate chips. If you’re using chocolate chips, gently fold them into the dough. This is where you can customize your cookie! If you prefer, you can substitute the chocolate chips with chopped nuts like walnuts or pecans, or even some dried cranberries or raisins for a different flavor profile. For this recipe, the chocolate chips add little bursts of sweetness and a delightful textural contrast. Ensure the chocolate chips are evenly distributed throughout the dough so you get a few in every bite.
Step 5: Shaping and Baking Your Breakfast Delights
Now for the fun part: forming the cookies. Drop rounded tablespoons of the dough onto your prepared baking sheet. You don’t need to flatten them significantly; they will spread a little on their own. The dough will be quite sticky due to the bananas and peanut butter, so you can use slightly damp hands or a cookie scoop to help portion it out cleanly. Aim for cookies that are roughly the same size so they bake evenly. Place the baking sheet in the preheated oven and bake for 12-15 minutes. You’re looking for the edges of the cookies to be lightly golden brown, and the centers should appear set, not wet. Keep an eye on them, as oven temperatures can vary. Once they look done, carefully remove the baking sheet from the oven.
Step 6: Cooling and Enjoying Your Creation
Allow the cookies to cool on the baking sheet for about 5-10 minutes. This is important because they will be very soft and delicate right out of the oven. Letting them rest on the baking sheet allows them to firm up slightly before you attempt to move them. After they’ve had a chance to set, carefully transfer the cookies to a wire rack to cool completely. This ensures that they don’t become soggy on the bottom and allows them to reach their perfect chewy texture. Once cooled, these Healthy Oatmeal Breakfast Cookies are ready to be enjoyed! Store any leftovers in an airtight container at room temperature for up to 3 days, or in the refrigerator for a bit longer. They also freeze beautifully for future cravings. Enjoy your delicious and nutritious start to the day!
Conclusion:
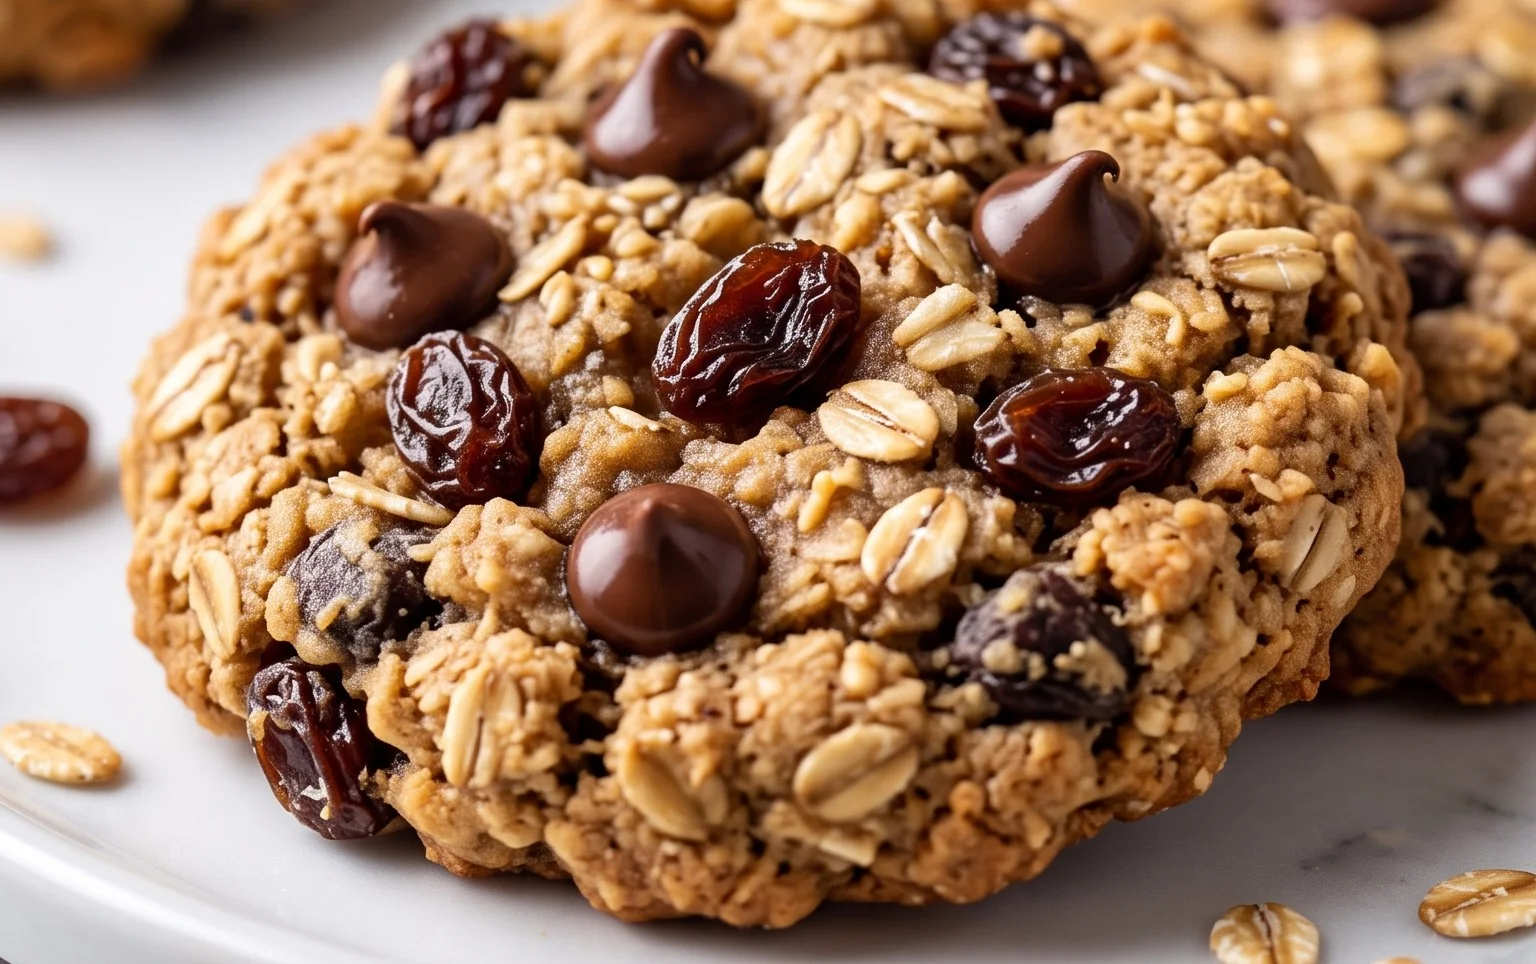
There you have it! My recipe for healthy oatmeal breakfast cookies is a true game-changer for busy mornings. These cookies are fantastic because they deliver a satisfyingly chewy texture and a delicious sweetness without relying on refined sugars or excessive fats. They’re packed with wholesome ingredients like rolled oats, nuts, and seeds, making them a genuinely nutritious way to start your day. The beauty of this recipe lies in its simplicity and adaptability. I love enjoying them straight from the oven with a cup of coffee, but they’re also perfect for packing in a lunchbox or enjoying as an energizing afternoon snack.
Don’t be afraid to get creative with variations! Consider adding a handful of fresh berries for a burst of fruitiness, a sprinkle of cinnamon for warmth, or even a touch of unsweetened cocoa powder for a chocolatey twist. You can also swap out the nuts and seeds based on your preferences and what you have on hand. I truly encourage you to give these healthy oatmeal breakfast cookies a try. They’re a delicious and convenient solution that will have you looking forward to breakfast!
Frequently Asked Questions:
Can I make these cookies ahead of time?
Absolutely! These cookies are perfect for meal prepping. Once cooled completely, store them in an airtight container at room temperature for up to 3-4 days, or in the refrigerator for up to a week. They also freeze beautifully for longer storage.
Are these cookies vegan?
This specific recipe uses eggs. However, you can easily make them vegan by substituting the eggs with a flax egg (1 tablespoon ground flaxseed mixed with 3 tablespoons water, let sit for 5 minutes) or a commercial egg replacer. Ensure any other ingredients, like chocolate chips, are also vegan.
Healthy Oatmeal Breakfast Cookie
A quick and healthy oatmeal cookie perfect for breakfast or a snack, made with simple, wholesome ingredients.
Ingredients
-
2 cup (180 grams) quick oats
-
½ tsp ground cinnamon
-
¼ tsp salt
-
½ cup (125 grams) creamy peanut butter
-
½ tsp vanilla extract
-
2 large ripe bananas (mashed (about 1 ½ cups))
-
¼ cup (45 grams) chocolate chips
Instructions
-
Step 1
Preheat oven to 350°F (175°C) and line a baking sheet with parchment paper. (Note: These cookies are baked but can also be made no-bake by chilling.) -
Step 2
In a large bowl, combine the quick oats, ground cinnamon, and salt. Stir to mix. -
Step 3
Add the creamy peanut butter, vanilla extract, and mashed ripe bananas to the bowl. Mix well until everything is thoroughly combined. -
Step 4
Gently fold in the chocolate chips. -
Step 5
Drop rounded tablespoons of the mixture onto the prepared baking sheet, shaping them into cookie rounds. -
Step 6
Bake for 10-12 minutes, or until the edges are lightly golden. For no-bake cookies, chill in the refrigerator for at least 30 minutes until firm. -
Step 7
Let the cookies cool on the baking sheet for a few minutes before transferring to a wire rack to cool completely.
Important Information
Nutrition Facts (Per Serving)
It is important to consider this information as approximate and not to use it as definitive health advice.
Allergy Information
Please check ingredients for potential allergens and consult a health professional if in doubt.