Chewy Baked Oatmeal Bars – Healthy Grab-and-Go Breakfast
Baked Oatmeal Bars are an absolute game-changer for busy mornings and healthy snacking! If you’re anything like me, the thought of a rushed breakfast often leads to less-than-ideal choices. That’s where these glorious baked oatmeal bars come in. They’re the ultimate make-ahead breakfast solution, transforming your humble bowl of oatmeal into a portable, delicious, and satisfying treat. People adore them because they offer the comforting warmth and heartiness of traditional oatmeal, but in a convenient, grab-and-go format. What truly makes these baked oatmeal bars special is their incredible versatility. You can customize them with your favorite fruits, nuts, and spices, ensuring a delightful flavor experience every single time. Imagine the aroma filling your kitchen as these golden-brown bars bake to perfection – pure breakfast bliss!
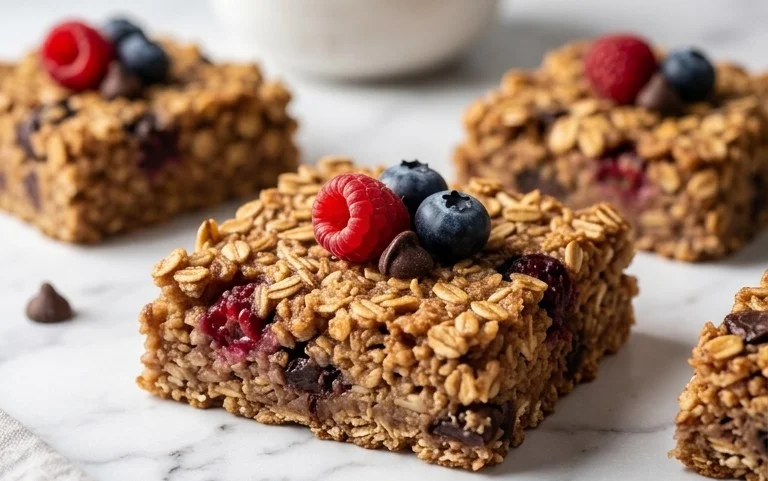
Deliciously Chewy Baked Oatmeal Bars
Tired of the same old breakfast routine? Looking for something that’s both incredibly satisfying and surprisingly healthy to fuel your day? I’ve got you covered with these fantastic Baked Oatmeal Bars! These are a game-changer for busy mornings, grab-and-go snacks, or even a light dessert. They’re wonderfully chewy, packed with wholesome goodness, and infinitely customizable. Plus, they smell absolutely divine while baking.
These bars are a fantastic way to incorporate more fiber and whole grains into your diet without sacrificing flavor. The natural sweetness from the banana and maple syrup makes them a treat you’ll actually look forward to. I love making a big batch on Sunday so I have healthy, delicious options readily available throughout the week. They store beautifully and are perfect for packing in lunchboxes or taking on picnics.
Ingredients:
- 2 cups rolled oats (old-fashioned oats work best for texture)
- 1 1/3 cup mashed banana (about 2-3 ripe bananas)
- 6 tbsp water
- 1/2 tsp salt
- 3 tbsp pure maple syrup, agave, or honey OR stevia equivalent
- 3 tbsp oil, nut butter, or additional water
- 1 tsp pure vanilla extract
- optional handful chocolate chips, chopped nuts, dried fruit, or seeds
Cooking Instructions
These bars are wonderfully straightforward to make, requiring minimal fuss and just a few simple steps. I find that using ripe bananas is key to both the sweetness and the binding power of these bars. The riper, the better – those little brown spots are your signal for maximum flavor and moisture.
Step 1: Preheat and Prepare Your Pan
First things first, let’s get our oven ready. Preheat your oven to 350 degrees Fahrenheit (175 degrees Celsius). While the oven heats up, it’s time to prepare your baking pan. I prefer using an 8×8 inch baking pan for these bars, as it gives them a nice thickness. Line your baking pan with parchment paper, leaving some overhang on the sides. This overhang acts as handy handles, making it super easy to lift the entire baked block of oatmeal out of the pan once it’s cooled. This makes cutting the bars a breeze and prevents them from sticking to the bottom or sides. Make sure the parchment paper covers the bottom and comes up the sides as much as possible.
Step 2: Combine Wet Ingredients
In a medium-sized mixing bowl, we’ll start by combining all our wet ingredients. Add your beautifully mashed banana to the bowl. Make sure it’s mashed until it’s relatively smooth, with only a few small lumps remaining. This banana will act as a binder and add a wonderful natural sweetness. Next, pour in the 6 tablespoons of water. Follow this with your chosen sweetener: 3 tablespoons of pure maple syrup, agave, or honey. If you’re using a stevia equivalent, adjust the amount according to the product’s instructions to achieve a similar sweetness level. Then, add the 3 tablespoons of oil. I often use melted coconut oil or a mild vegetable oil, but melted butter or even unsweetened applesauce can work in a pinch. Alternatively, if you’re aiming for a lower-fat option, you can substitute this with an additional 3 tablespoons of water. Finally, add the 1 teaspoon of pure vanilla extract. This adds a lovely depth of flavor that complements the oats and banana beautifully. Whisk these ingredients together until they are well combined and smooth.
Step 3: Incorporate Dry Ingredients and Mix
Now it’s time to bring in the dry ingredients. Add the 2 cups of rolled oats to the wet mixture. If you’re using old-fashioned rolled oats, they will give you the best chewy texture. Instant oats can make the bars a bit mushier, so I’d stick with rolled oats if possible. Sprinkle in the 1/2 teaspoon of salt. Salt might seem odd in a sweet recipe, but it’s crucial for balancing the flavors and enhancing the sweetness of the other ingredients. Give everything a good stir with a spatula or wooden spoon until the oats are completely coated in the wet mixture. Make sure there are no dry pockets of oats. Don’t overmix, but ensure everything is incorporated evenly.
Step 4: Add Your Mix-Ins (Optional but Recommended!)
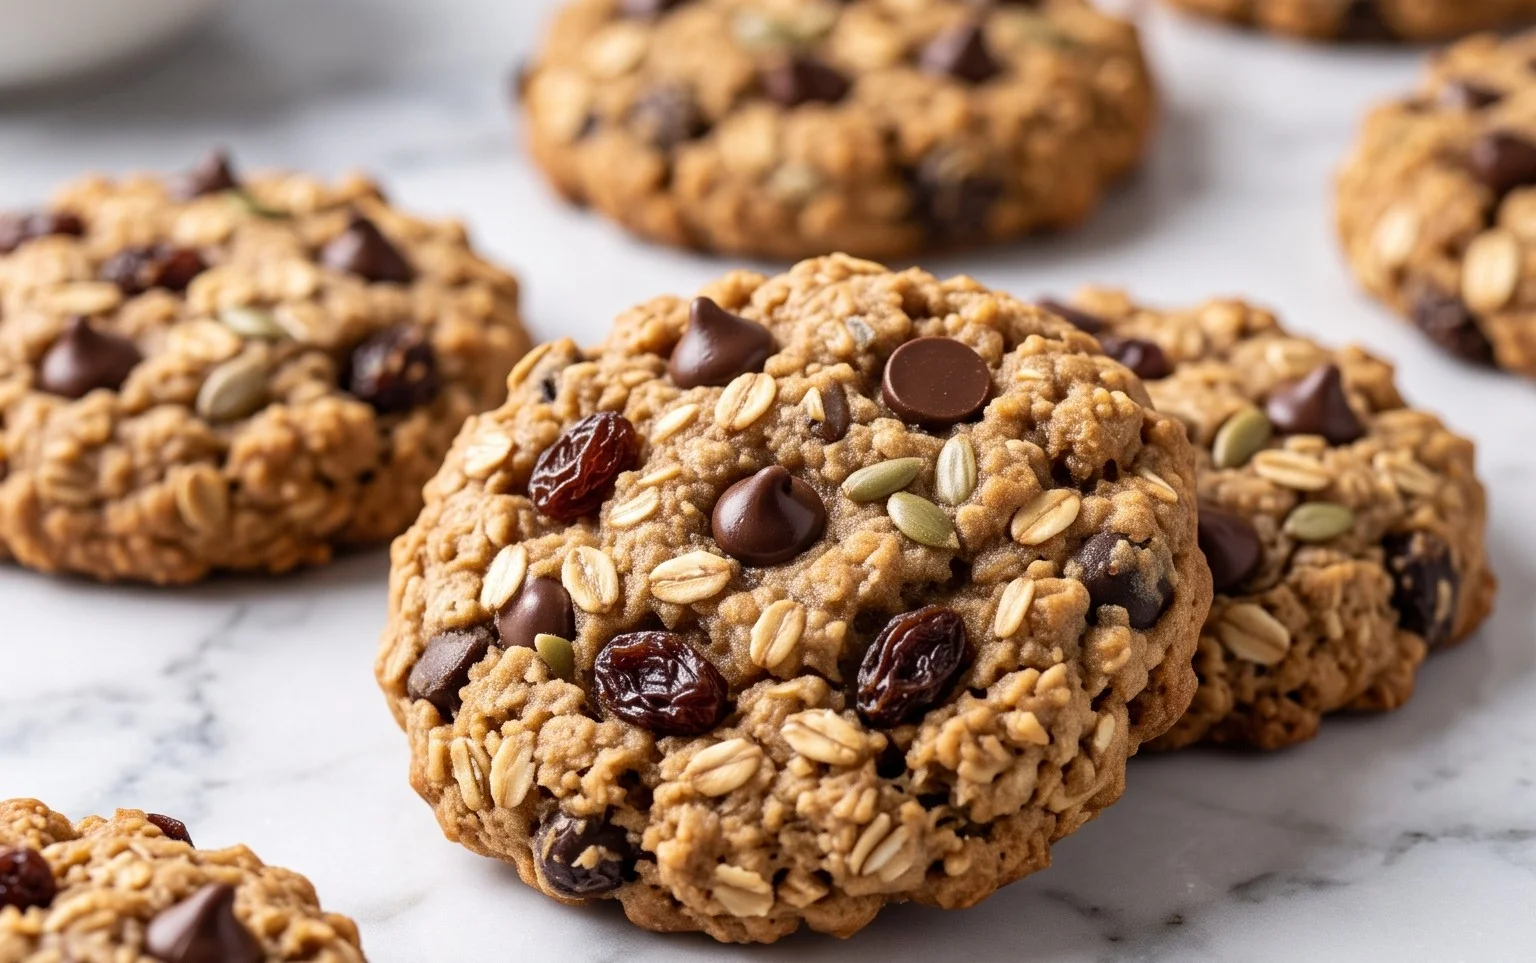
This is where you can really personalize your baked oatmeal bars! If you’re feeling adventurous, now is the time to fold in any of your desired add-ins. A handful of chocolate chips is always a winner in my book – dark chocolate chips provide a lovely contrast to the sweetness. Chopped nuts like walnuts or pecans add a delightful crunch and healthy fats. Dried fruit such as raisins, cranberries, or chopped dates offer extra chewiness and natural sweetness. Seeds like chia seeds or flax seeds can boost the nutritional content even further. Gently fold these ingredients into the oat mixture, distributing them as evenly as possible. You don’t want all your chocolate chips to settle at the bottom!
Step 5: Bake to Golden Perfection
Pour the oat mixture evenly into your prepared baking pan. Use your spatula to spread it out so that it forms an even layer across the entire pan. Press it down gently with the back of the spatula or your hand to ensure it’s compacted; this will help the bars hold together better once baked. Place the pan in your preheated oven. Bake for approximately 25-30 minutes. You’ll know they’re ready when the edges start to look golden brown and the center feels set, not jiggly. The aroma that fills your kitchen during this time is absolutely divine, a comforting mix of oats, banana, and vanilla.
Step 6: Cool and Cut for Serving
This is arguably the hardest part: waiting for them to cool! Once they’re out of the oven, let the baked oatmeal cool completely in the pan. This is crucial for the bars to firm up properly. Resist the urge to cut into them while they’re hot, as they will likely crumble. Once they are fully cooled, use the parchment paper overhang to lift the entire block out of the pan onto a cutting board. Now you can easily slice them into your desired bar shapes. I usually cut mine into about 8-10 bars, but you can make them thicker or thinner depending on your preference. Enjoy them as they are, or add a drizzle of nut butter or a dollop of yogurt for an extra treat. These bars are fantastic served warm or at room temperature. Store any leftovers in an airtight container at room temperature for up to 3 days, or in the refrigerator for up to a week. They also freeze well, making them an excellent make-ahead breakfast or snack option.
Conclusion:
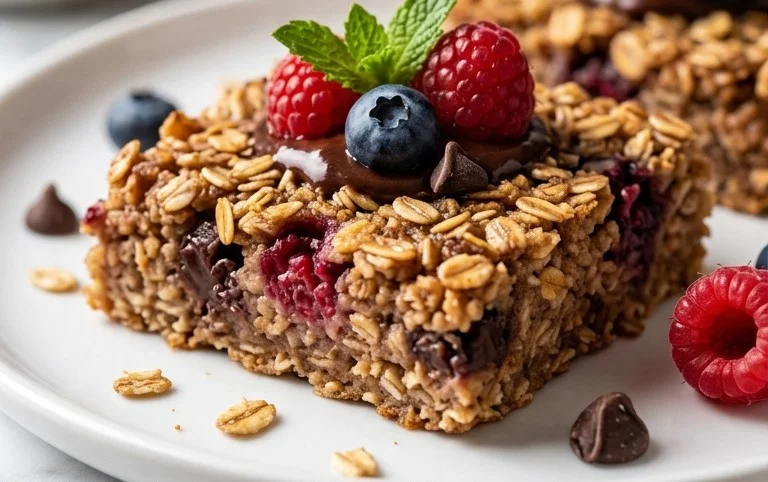
There you have it – a foolproof guide to creating absolutely delicious Baked Oatmeal Bars! These are truly a game-changer for busy mornings and healthy snacking. The beauty of this recipe lies in its simplicity and versatility. You get a wonderfully satisfying breakfast or snack that’s packed with wholesome goodness, customizable to your heart’s content. Whether you’re looking for a quick grab-and-go option or a comforting treat, these baked oatmeal bars deliver every time. They’re a fantastic way to start your day with sustained energy and a smile!
I highly encourage you to give these Baked Oatmeal Bars a try. Experiment with the variations I’ve suggested, or come up with your own unique combinations. You might be surprised at how easy it is to whip up a batch, and the delicious results will have you making them on repeat.
Frequently Asked Questions:
Q: How should I store my Baked Oatmeal Bars?
A: Once cooled completely, you can store your baked oatmeal bars in an airtight container at room temperature for up to 3 days, or in the refrigerator for up to a week. For longer storage, you can freeze them individually wrapped for up to 2 months. Simply thaw at room temperature or reheat gently in the oven or microwave.
Q: Can I make these vegan?
A: Absolutely! To make these baked oatmeal bars vegan, simply substitute the eggs with a flax egg (1 tablespoon flaxseed meal mixed with 3 tablespoons water, let sit for 5 minutes) and use your favorite dairy-free milk and a plant-based butter or oil. Ensure your chocolate chips are also dairy-free if using.
Q: What are some other good add-ins for these bars?
A: The possibilities are endless! Besides the suggested nuts and fruits, consider adding a tablespoon of chia seeds or hemp seeds for extra nutrients, a pinch of cinnamon or nutmeg for warmth, or even a swirl of nut butter before baking. Dried cranberries, blueberries, or chopped dates are also wonderful additions.
Baked Oatmeal Bars
Healthy and customizable baked oatmeal bars, perfect for a quick breakfast or snack. Easily adaptable for dietary needs.
Ingredients
-
2 cups rolled oats
-
1 1/3 cup mashed banana
-
6 tbsp water
-
1/2 tsp salt
-
3 tbsp pure maple syrup
-
3 tbsp oil
-
1 tsp pure vanilla extract
-
optional handful chocolate chips
Instructions
-
Step 1
Preheat oven to 350°F (175°C) and grease an 8×8 inch baking pan. -
Step 2
In a large bowl, combine rolled oats, salt, and any optional mix-ins like chocolate chips or nuts. -
Step 3
In a separate bowl, whisk together mashed banana, water, maple syrup, oil, and vanilla extract until well combined. -
Step 4
Pour the wet ingredients into the dry ingredients and stir until just combined. Do not overmix. -
Step 5
Spread the mixture evenly into the prepared baking pan. -
Step 6
Bake for 25-30 minutes, or until the edges are golden brown and the center is set. -
Step 7
Let cool completely in the pan before cutting into bars.
Important Information
Nutrition Facts (Per Serving)
It is important to consider this information as approximate and not to use it as definitive health advice.
Allergy Information
Please check ingredients for potential allergens and consult a health professional if in doubt.