Quick Refrigerator Pickles Easy & Delicious
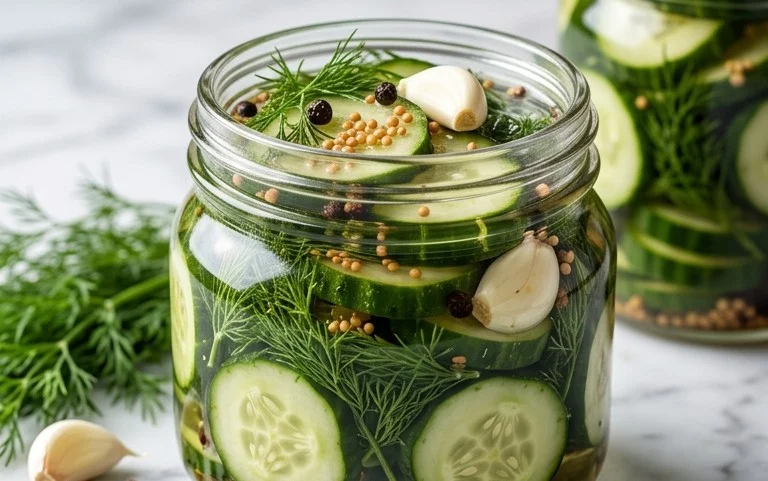
Quick & Easy Refrigerator Pickles are about to become your new best friend in the kitchen. Forget the canning process; we’re talking about instant gratification that delivers that satisfying crunch and tangy bite you crave, all with minimal effort. Have you ever found yourself reaching for a snack and wishing you had something zesty and refreshing? That’s precisely where these delightful pickles shine. They’re perfect for adding a vibrant punch to sandwiches, burgers, or just enjoying straight from the jar. What makes these Quick & Easy Refrigerator Pickles so special is their incredible versatility and speed. You can whip them up in under 15 minutes, and they’re ready to eat in just a few hours, meaning you’re not waiting days for that perfect pickle flavor. They are the ultimate solution for those spontaneous cravings, offering a burst of homemade goodness without the fuss.
Why You’ll Love Them:
Effortless Flavor Boost
Instant Gratification
Perfectly Tangy and Crunchy
Quick & Easy Refrigerator Pickles
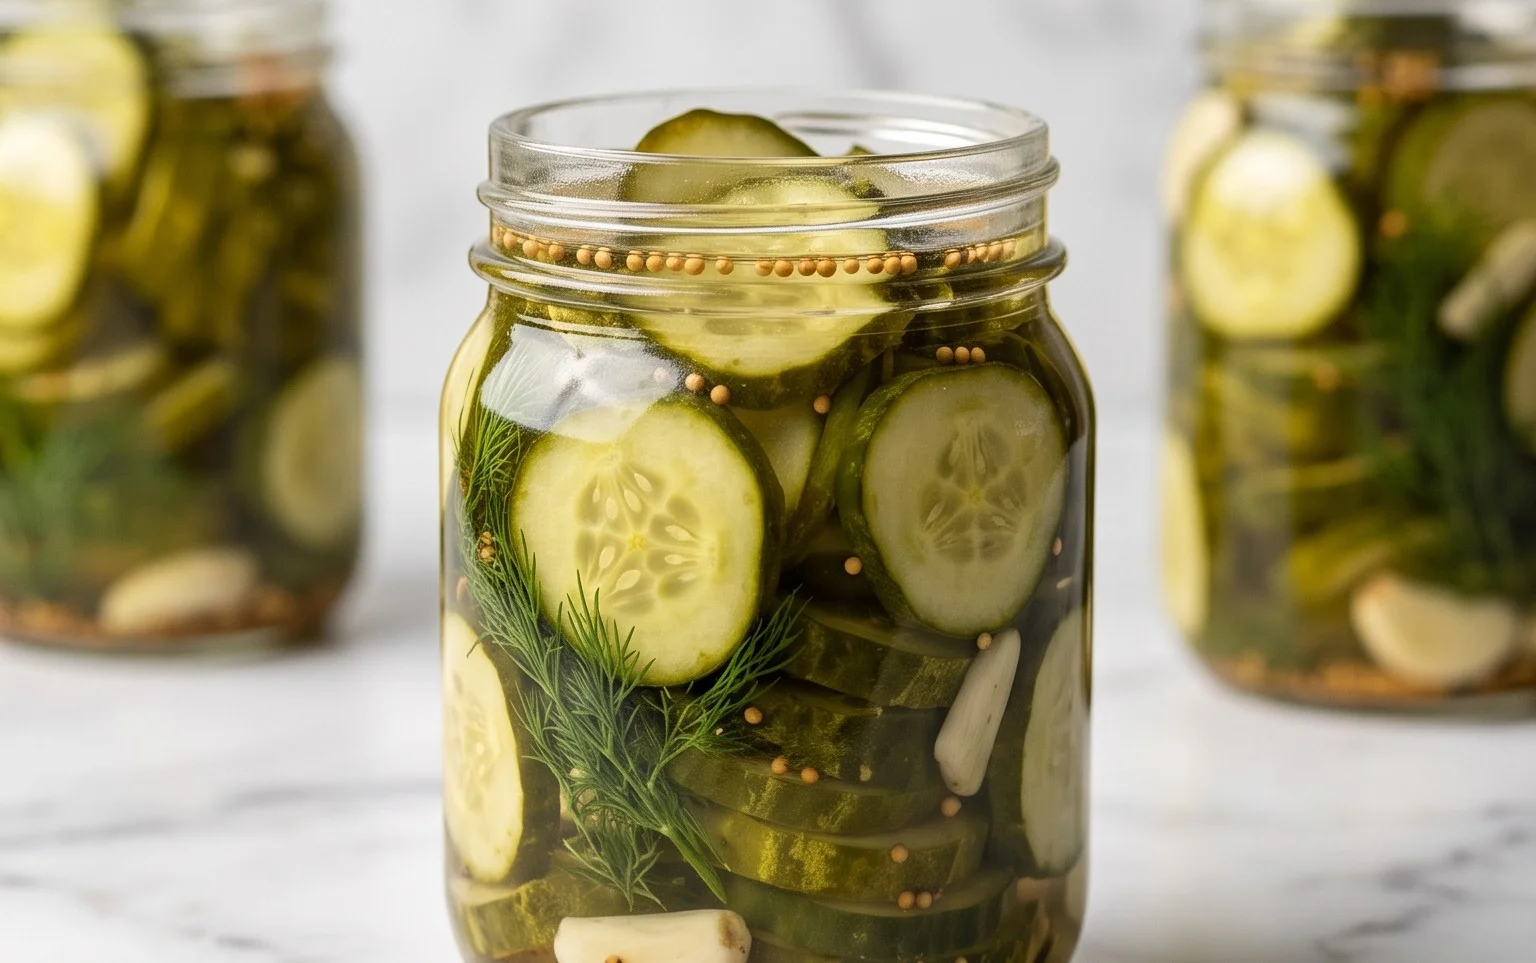
There’s something incredibly satisfying about a perfectly crisp, tangy pickle. But who has the time for traditional canning methods? Not me! That’s why I’m so excited to share my go-to recipe for Quick & Easy Refrigerator Pickles. These little jars of deliciousness are ready to eat in just a few days and can be customized to your heart’s content. Think of it as a fast-track to pickle paradise, perfect for brightening up sandwiches, salads, or just enjoying straight from the jar.
These aren’t your average shelf-stable pickles; they’re meant to be stored in the refrigerator and have a wonderfully fresh, vibrant flavor. The beauty of refrigerator pickles is their simplicity. No boiling water baths, no complicated sterilization procedures. Just a few fresh ingredients and a bit of patience, and you’ll have a delicious condiment that keeps for weeks.
The secret to amazing refrigerator pickles lies in the quality of your cucumbers and the brine. I love using Kirby cucumbers or Persian cucumbers because they have a firm texture and few seeds, making them ideal for pickling. For the brine, it’s a simple ratio of vinegar, water, salt, and sugar that creates that signature sweet and sour flavor.
Beyond the basics, this is where you can get creative! While I’m focusing on a classic dill pickle here, I’ll share some ideas for adding extra flavor that are inspired by the wonderful world of gardening. Just like thinking about 10 Fragrant Plants for an Awesome Smelling Garden, or considering 4 Companion Planting Tips For Beginners, we can infuse our pickles with aromatic elements.
Ingredients:
- 2 pounds Kirby or Persian cucumbers, washed and trimmed
- 1 large red onion, thinly sliced
- 3 cloves garlic, smashed
- 2-3 sprigs fresh dill
- 1 teaspoon black peppercorns
- 1/2 teaspoon mustard seeds
- 1 cup white vinegar
- 1 cup water
- 1 tablespoon kosher salt
- 1 tablespoon granulated sugar
Instructions:
- Prepare the Cucumbers and Onions: First things first, we need to get our star ingredients ready. Wash your cucumbers thoroughly and trim off the blossom ends. This is important because the blossom end can sometimes release enzymes that make pickles soft. For the best texture, I like to slice my cucumbers into 1/4-inch thick rounds. You can also cut them into spears if you prefer! Next, take your red onion and slice it thinly. The red onion adds a beautiful color and a subtle sweet crunch to the pickles. Remember those 4 Companion Planting Tips For Beginners? While not directly related to pickling, thinking about how ingredients complement each other in the garden can spark ideas for flavor combinations in your kitchen too!
- Pack the Jars: Now it’s time to assemble our pickle jars. You’ll need clean glass jars with tight-fitting lids. I usually use quart-sized jars, but pint-sized ones work perfectly too. Start by layering your cucumber slices and red onion slices into the jars. Don’t pack them too tightly; you want to leave some room for the brine to circulate. Tuck in the smashed garlic cloves amongst the cucumber and onion. Add the fresh dill sprigs. If you’re thinking about 10 Fragrant Plants for an Awesome Smelling Garden, fresh dill is a classic for a reason! Its aroma alone is a delight. You can also experiment with other herbs from your garden if you have them.
- Make the Brine: This is where the magic happens! In a medium saucepan, combine the white vinegar, water, kosher salt, and granulated sugar. Place the saucepan over medium heat and stir until the salt and sugar are completely dissolved. It’s important that everything dissolves fully to ensure an even flavor distribution. Bring the mixture to a gentle simmer, but don’t let it boil vigorously. This quick simmering helps to meld the flavors together beautifully. Think of it like a gentle simmer in the garden, allowing different elements to harmonize.
- Fill the Jars and Add Spices: Once the brine is ready, carefully pour it over the cucumbers and onions in the jars, making sure to cover everything completely. You want to leave about 1/2 inch of headspace at the top of each jar. Add the black peppercorns and mustard seeds to each jar. These little additions bring a subtle warmth and a bit of peppery bite that really elevates the flavor. If you have some extra herbs from your garden that you think might be interesting, now is the time to consider adding them. Perhaps a sprig of thyme or a bay leaf, though keep it simple for your first batch!
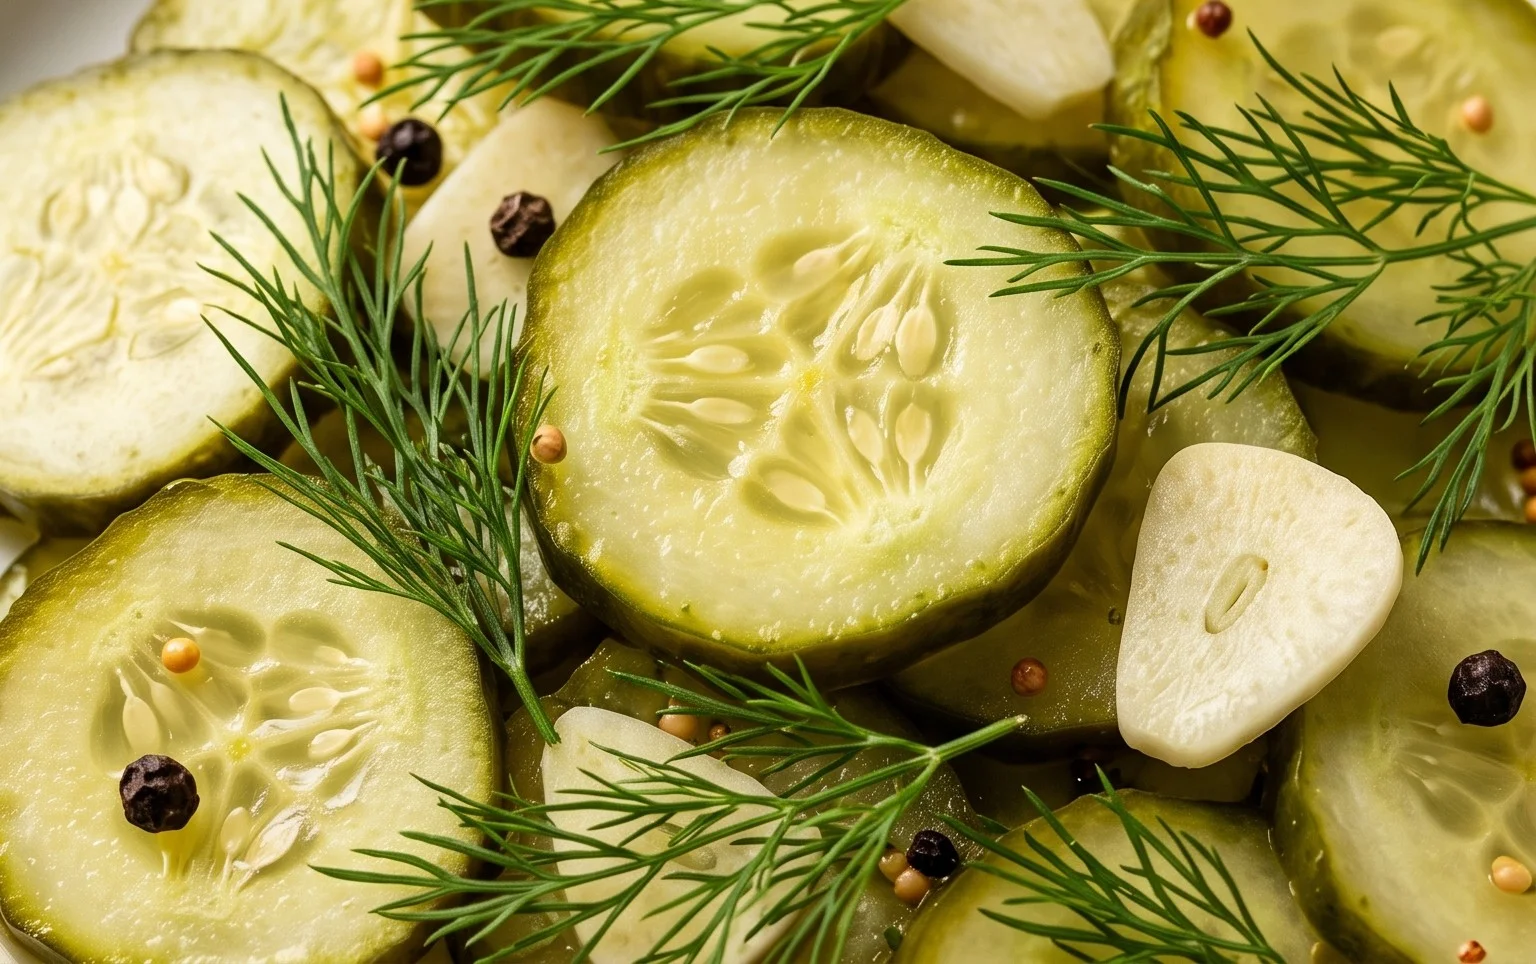
- Chill and Wait for Pickling Perfection: Once the jars are filled and sealed tightly, let them cool on the counter for about 30 minutes to an hour. This allows them to cool down gradually before going into the refrigerator. After they’ve cooled sufficiently, place the jars in the refrigerator. Now comes the hardest part: waiting! The pickles will be ready to eat in at least 24 hours, but I find they are at their absolute best after 2-3 days. This resting period allows the flavors to fully infuse into the cucumbers and onions, creating that perfect tangy, crisp pickle we all love. You can continue to store these in the refrigerator for up to 3-4 weeks. Enjoy your delicious homemade refrigerator pickles!
Conclusion:
And there you have it – your guide to creating incredibly delicious and remarkably simple Quick & Easy Refrigerator Pickles! I’m always amazed at how much flavor we can pack into these jars with such minimal effort. The beauty of this recipe lies in its speed and flexibility. You get that satisfying crunch and tangy bite of homemade pickles without the lengthy canning process or specialized equipment. They are a fantastic way to use up fresh produce from your garden or market, and they add a vibrant, zesty element to so many meals.
These pickles are incredibly versatile. I love them piled high on burgers and sandwiches, mixed into potato salads, or served as a refreshing side dish with grilled meats and fish. Don’t be afraid to experiment with the brine! Adding a pinch of chili flakes for a bit of heat, a sprig of fresh dill, or even some mustard seeds can totally transform the flavor profile. Give this Quick & Easy Refrigerator Pickles recipe a try – I promise you won’t regret the simple steps for such a rewarding, flavorful outcome. Happy pickling!
Frequently Asked Questions:
How long do these refrigerator pickles last?
Generally, these quick & easy refrigerator pickles will stay fresh and delicious in your fridge for about 2-3 weeks. As they sit, the flavors will continue to meld and deepen, which can be a wonderful thing! However, always keep an eye (and a nose!) out for any signs of spoilage like mold or an off smell.
Can I use different vegetables besides cucumbers?
Absolutely! This brining method is incredibly adaptable. Carrots, green beans, cauliflower florets, radishes, and even thinly sliced onions are fantastic candidates for quick refrigerator pickling. Just ensure they are cut to a size that will allow for even pickling and easy eating.
What if my pickles aren’t crunchy enough?
To ensure maximum crunch, start with the freshest vegetables you can find. Some people swear by adding a grape leaf or a small piece of horseradish root to the jar, as these are believed to help maintain crispness. Also, make sure your brine is completely cooled before pouring it over the vegetables, as hot liquid can sometimes soften them.
Quick & Easy Refrigerator Pickles
Crisp and tangy refrigerator pickles made with simple ingredients and minimal fuss. Perfect for adding a fresh crunch to any meal.
Ingredients
-
1 pound cucumbers, thinly sliced
-
1 cup white vinegar
-
1 cup water
-
2 tablespoons sugar
-
1 teaspoon salt
-
1 teaspoon dill seeds
-
1/2 teaspoon mustard seeds
-
1/4 teaspoon red pepper flakes
Instructions
-
Step 1
Wash and thinly slice the cucumbers. Place them in a large bowl. -
Step 2
In a medium saucepan, combine white vinegar, water, sugar, salt, dill seeds, mustard seeds, and red pepper flakes. -
Step 3
Heat the mixture over medium heat, stirring until the sugar and salt are dissolved. Do not boil. -
Step 4
Pour the hot brine over the sliced cucumbers in the bowl. -
Step 5
Stir gently to ensure all cucumber slices are submerged in the brine. -
Step 6
Let the mixture cool to room temperature, then transfer to a clean jar or airtight container. -
Step 7
Refrigerate for at least 24 hours before serving. The pickles will continue to develop flavor over time.
Important Information
Nutrition Facts (Per Serving)
It is important to consider this information as approximate and not to use it as definitive health advice.
Allergy Information
Please check ingredients for potential allergens and consult a health professional if in doubt.